
Hello! TamaraEsq here. When Lish asked me to do a "Happy Stacker" tutorial for her fabulous "Kick Off to Christmas" extravaganza I felt flattered and excited. I've never guest posted before. My oh my. The pressure! I better be at my wittiest best.

First, a teensy bit about me. Most of the time you can find me on my little blog, DomesticEsq, where I yammer on about my adventures as a culinary school student recent graduate (woo hoo!), my life as a part-time attorney, part-time chef, part-time seamstress, part-time crafter, and of course, full-time mother to Fin, our 13-month-old monster angel. And now, on with the show...


This Happy Stacker project gives those stiff plastic ring toys we all remember a fresh, modern, and oh-so-cute update. First, you'll need Heather Bailey's Happy Stacker pattern, available here. I'd give you the measurements for each ring, but there are five, plus the pole, and the instructions have handy pictures that explain what to do. So...pattern required, sorry. Trust me, it's definitely worth the $12.50 price tag.
My favorite part about this project is mixing and matching the fabrics. I went with mismatched retro patterns. I love sewing for babies (see my creations here and here and here) but I rarely use baby fabrics. (Amy Butler's designs are lovely). This project requires about 1/4 yard of fabric per ring (plus 1 yard for interfacing, and a bag of polyfill to stuff the rings). You can get away with using scraps or remnants so go crazy and have fun with your fabrics.


Here are the basic steps.

1) Cut all the rings and gussets from your five different fabrics. Cut the same pieces from the interfacing, and then cut the pieces for the pole.

2) Baste the interfacings to the rings.

3) Sew the inner gussets to both the top and bottom part of the rings.
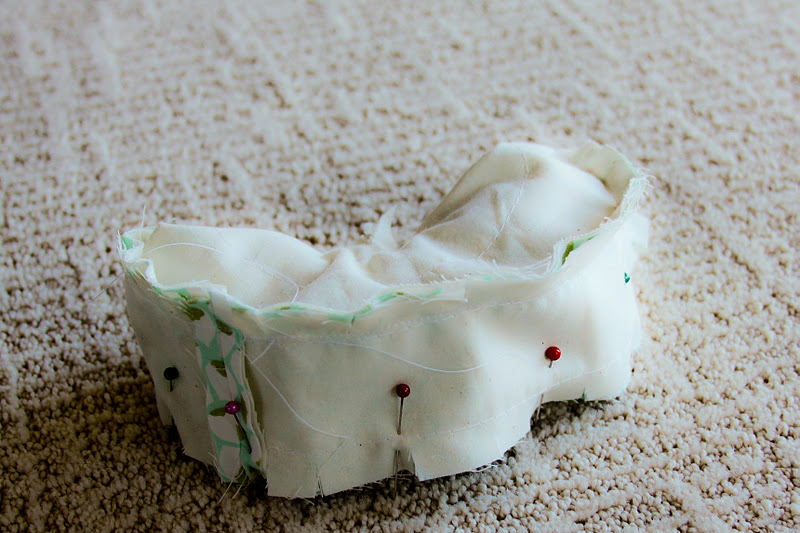
4) Join the outer gussets to the top and bottom part of the ring (the tricky part).

5) Turn right side out, stuff, and hand stitch to close.

6) Repeat 4 more times and then sew the pole, adding a ribbon loop on top.
This project took me about 12 hours to complete. The first ring took 3 hours, including one or two do-overs. There is one particularly tricky part when you have to sew the outer gusset to enclose the ring while it looks like a stuffed taco. I read, re-read, and re-re-read the instructions until it finally made sense. Don't give up. It will click. And if it doesn't, shoot me an email and I'll walk you through it. After the first ring the rest fell in line just fine.


I hope you enjoy this delightful project and that you click on over to DomesticEsq and say howdy-hoo. (And a special thank you to Lish for asking me to be a part of her blogger holiday party!)


1 comment:
I like very much the idea. I think I am going to try it! Thanks for sharing!
alba - festotu
Post a Comment