
Hi, I'm Adrianne from Happy Hour Projects, and I'm so happy to be back at Imprintalish! Doesn't Lish have a fantastic blog?

I'm a mom to a gorgeous (OK, yes, I am biased) little girl who turns one soon, and wife to my best friend Kevin.


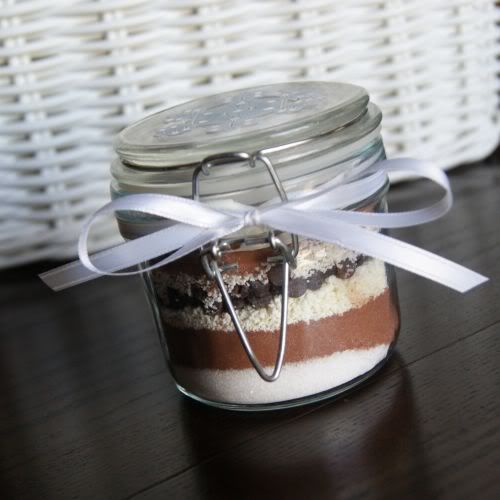
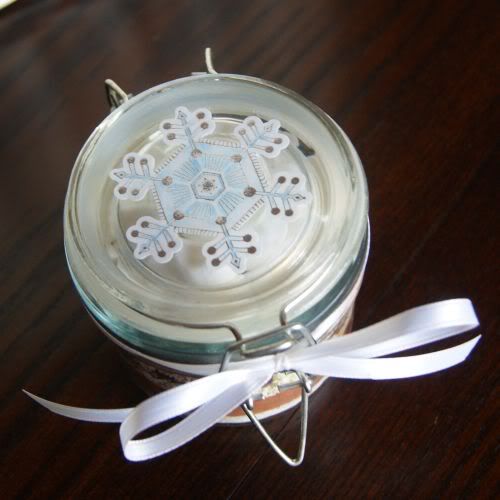
Today I am going to keep it simple, and show you a little holiday giftable: a layered cocoa jar.
If you're anything like me, there are a lot of people you'd like to thank at Christmastime. Edibles are always a big hit, and handmade gifts show that you put thought and effort in for that person. This year, I have worked hard to include handmade touches to my gifts, and people have been very appreciative.
Fortunately - people don't have to know how crazy easy this gift is! You can whip one of these up in ten minutes or less if you have your supplies on-hand.
Recipe for an 8 oz jar:
- 1/4 c. powdered dry nonfat milk
- 1/4 c. powdered coffee creamer
- 1/4 c. granulated sugar
- 2 Tbsp. baking cocoa
- chocolate chips (mini chips work best, but use what you have)
- marshmallows
Keep all your ingredients separate, and I will give you some tips below when it comes to layering them!
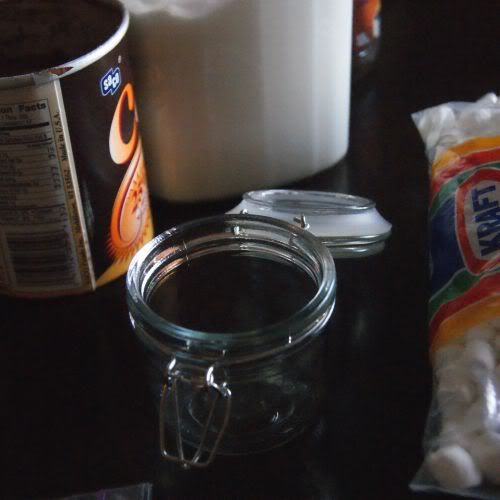
Hobby Lobby runs half off specials of their glassware regularly, so that is where I got this hermetic jar from. I just love the glass top and metal latch. But any 8 oz. jar will work. Check your dollar store, or use Ball jars! Please forgive the prep pictures - there's rarely much daylight left when I finally have time to work. :)
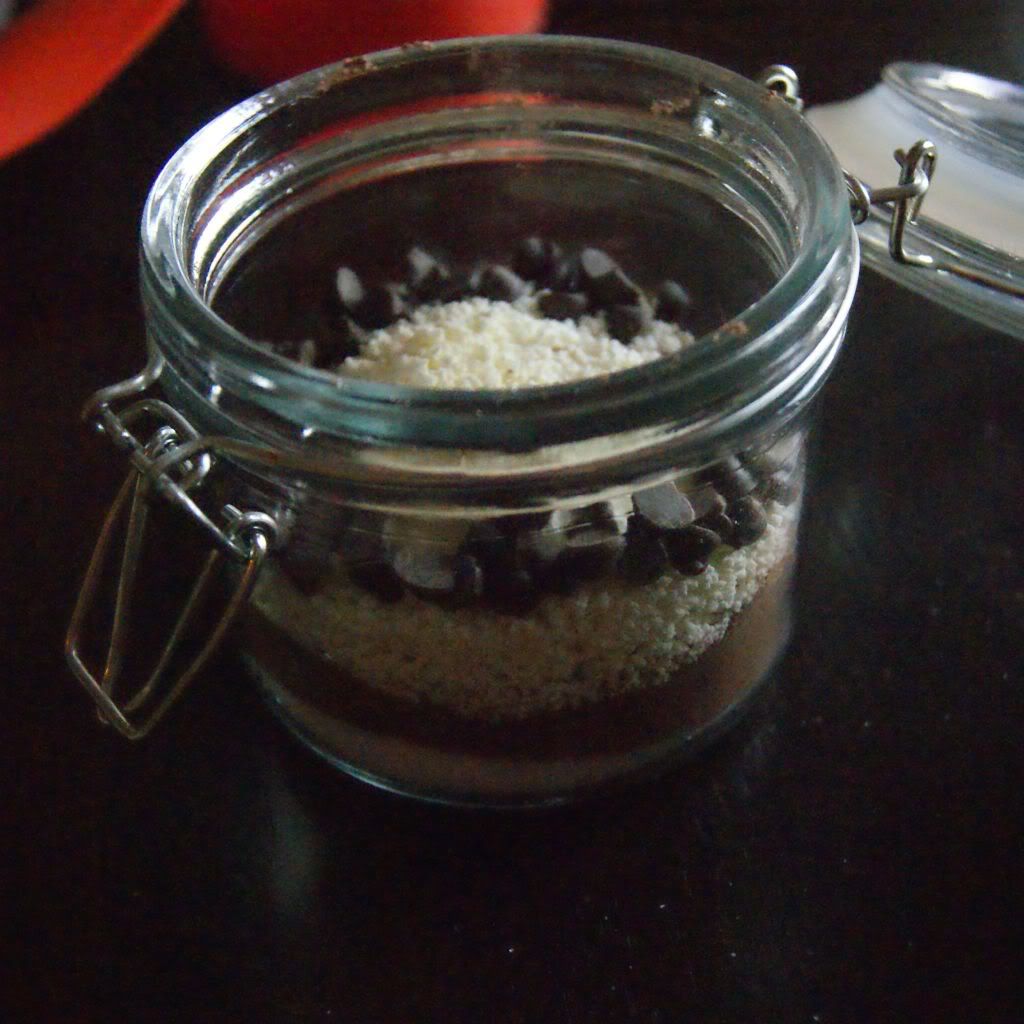
Now, in a clean jar, put all your sugar in. It doesn't have to be exactly level, but you do want to make sure it's a visible layer all the way around the jar, so go ahead and shake it a little to settle it.
Next I add about half of the cocoa/creamer blend, and tap the jar so it's more or less level. Then I pour in about half of the dry milk.
Next, when it comes time to add the chips, I arrange them around the outside of the jar. You don't need to use much for the recipe, but the point is that you want to see them from the outside of the jar:
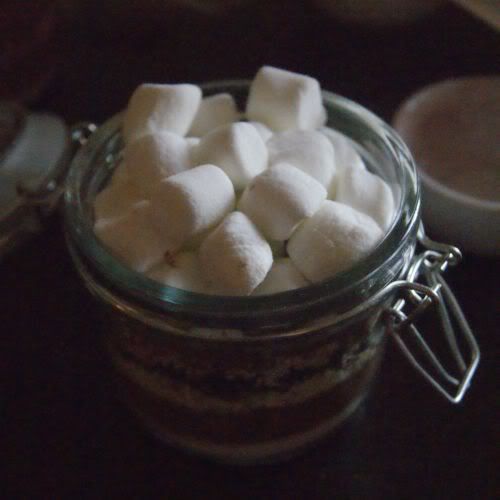
Add the last of your cocoa mix, and pack in a bunch of marshmallows. The marshmallows keep the ingredients in place, so go ahead and squeeze in as many as you need to fill the jar completely.
Perfectly giftable by itself, or as an addition to a Christmas cookie sampler! Yum!
If you enjoyed this idea - drop by Happy Hour for more quick and easy projects, I would love to see you there!
~ Adrianne

This is a fantastic idea Adrianne! So simple and easy to do, but so thoughtful...I know I would love to get this as a gift!! :) Thanks so much for sharing!

2 comments:
Another great idea! Lish, you have assembled so many awesome people. I'm really having a hard time narrowing down what I want to make. Pinning this idea for sure! Thanks, Adrianne!
This looks amazing! I just love Happy Hour!
Carlee
www.ladybirdln.com
Post a Comment