
While trying my best to maximize the space in the bedroom two of my kids share, I decided to make a bold move. I removed their closet doors and managed to fit an IKEA Expedit inside since it is a pretty wide closet. It all looked great except for one thing. Everything I had on the top shelf showed, as did the rod that ran across the entire closet. I needed to keep the rod there because I do hang clothes on either side of the Expedit. I just didn't want to see it all.

I came up with what I would do, a valance inside the closet. That's when I ran into my second problem, what fabric to use? It took me a week or two but I finally settled on a great fabric from Premier Prints that would match what was already in their room. I put together an easy way to hang the valance hanging from cup hooks and curtain rings with clips.

I could go with a no sew method which I've used before, but I decided to take out the sewing machine and challenge myself a little. I measured the opening of the closet, 60 inches, and added 10 inches on either side so the valance would run all the way across the opening and beyond making 80 inches total. I would need to sew two pieces of fabric together since my fabric was only 54 inches wide.

I measured to get the correct height of the piece. I wanted it to hit the top of the Expedit. I actually took a pillowcase to do this and just kept adjusting where it was clipped until I got the right height. No rocket science here! I added a couple extra inches to allow for a seam on the top and bottom.


Once my fabric was cut and pinned I was ready to go. First I sewed the two outside edges of each piece. I then lined up the chevron stripe and pined the two pieces together. After it was all one piece, I rechecked my measurements for the height and sewed the top and bottom. Simple straight lines all around.


Here is my seam below. How'd I do? Not bad for a beginner if I do say so myself!

The sewing was done so I headed upstairs and clipped the curtain rings on. I didn't measure for this either since it would be hidden within the closet. I screwed the cup hooks in by matching up where the rings were on the valance.

Nine hooks later and this is what it looked like...
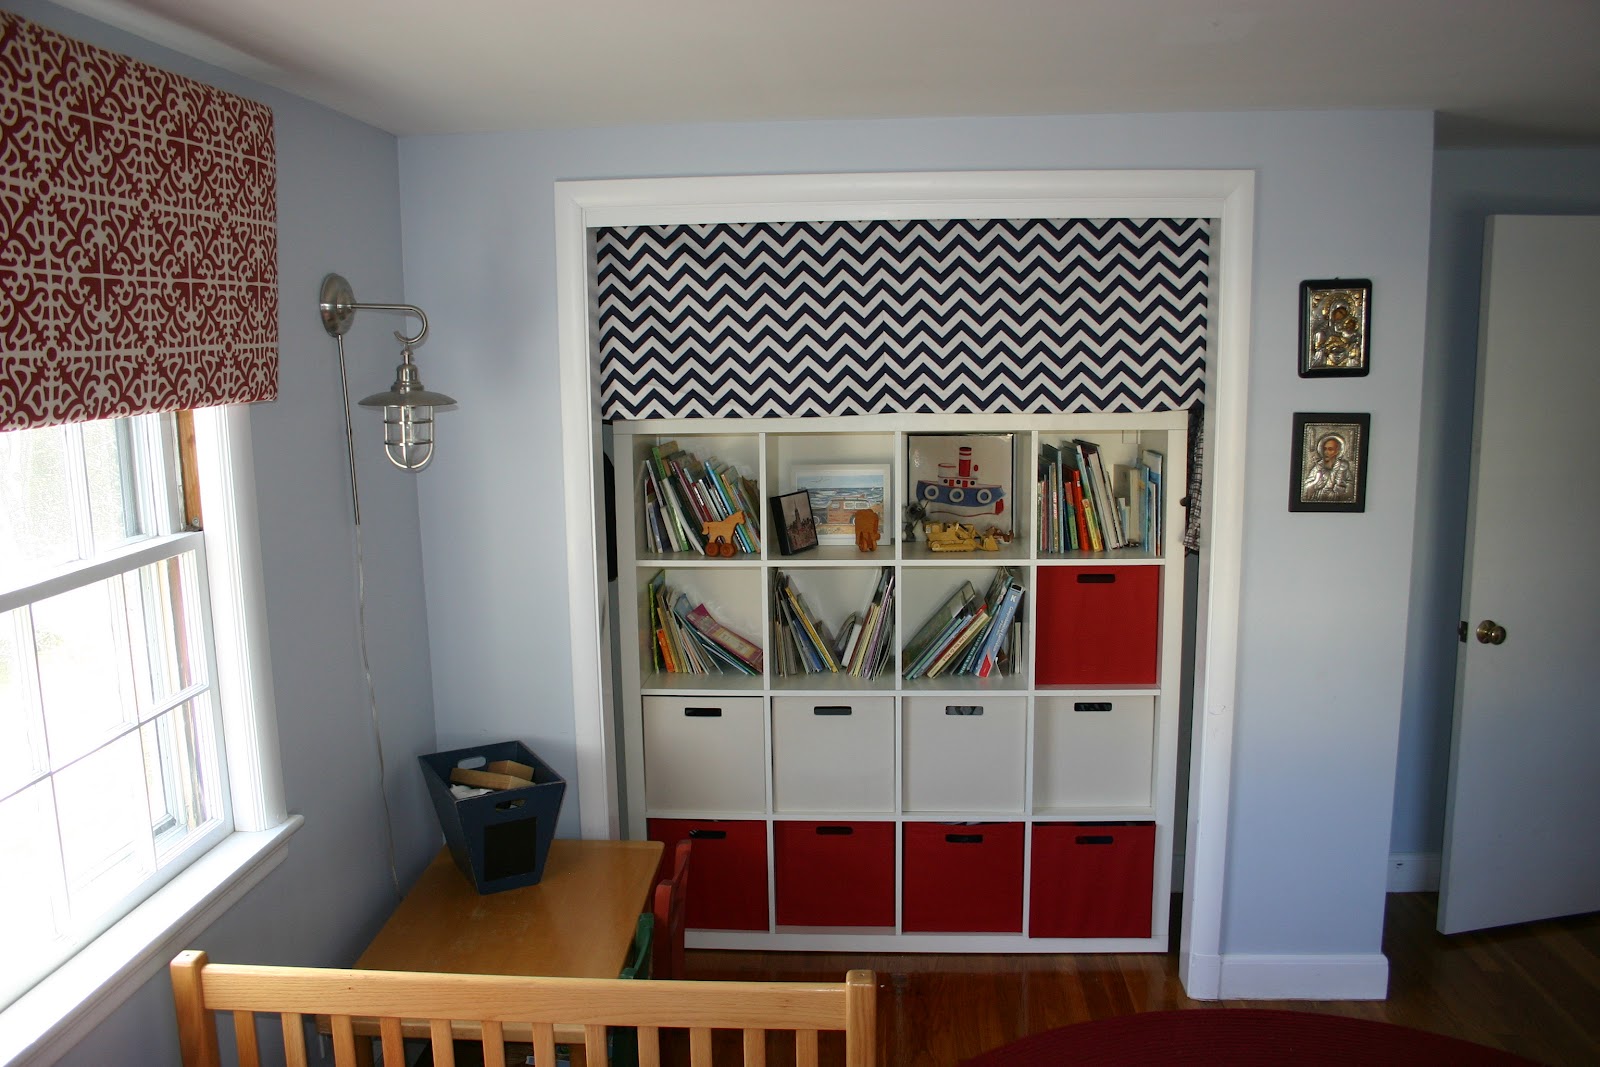


Do you want to see that before again?

It took a lot of measuring and double checking, but I'm so happy to not have to have the random sleeping bag and box of clothing staring me in the face.
Thank you so much for sharing your project with us Christina! It looks much more tidier and I LOVE the fabric! Such a simple project that could work for anything you want to 'hide' :)
Psst...go visit Christina over at her blog No.29 Design!
Thank you so much for sharing your project with us Christina! It looks much more tidier and I LOVE the fabric! Such a simple project that could work for anything you want to 'hide' :)
Psst...go visit Christina over at her blog No.29 Design!

5 comments:
I love this!! We're putting storage about our washer and dryer (which is in the bathroom), and this might be a good solution to hide it instead of a full length curtain...
Thank you Lish for featuring my boys bedroom!
Hi I am visiting from Live.Laugh.Love. Hoping to win the giveaways!
Stopping by from the Live. Laugh. Love. giveaway! I’m a new GFC follower and LOVE your blog.
http://our-reflection.blogspot.com/
Live.Laugh.L0ve sent me! Thank you so much for sponsoring the giveaway, that's just sooo kind of you!!!
Post a Comment